Installing a mini split air conditioning system can be an excellent choice for homeowners seeking efficient, flexible cooling solutions. These systems are ideal for homes without existing ductwork and offer the added benefit of zoned cooling. Here is a comprehensive guide to installing a mini split AC system from start to finish.
Before beginning the installation process, it’s crucial to select the right unit size for your space. Mini split systems come in various capacities, typically measured in BTUs (British Thermal Units). To determine the appropriate size, consider factors such as room size, insulation quality, and climate. Consulting with an HVAC professional can help ensure you choose the most efficient unit for your needs.
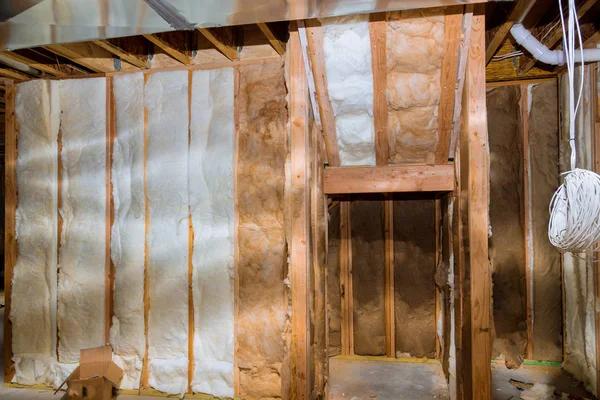
Once you’ve selected your mini split ac installation system, gather all necessary tools and materials. You’ll need a drill with bits suitable for masonry or wood, depending on wall type; a level; measuring tape; wrenches; screwdrivers; and possibly a hole saw if one isn’t included in your kit. Ensure you have all components of the mini split system: indoor air handling units, outdoor condenser unit, refrigerant lines, electrical wiring kits, and mounting brackets.
Begin by choosing an optimal location for both indoor and outdoor units. The indoor unit should be mounted high on an interior wall away from direct sunlight or heat sources to ensure even airflow distribution throughout the room. Use a level to position it accurately before securing it with screws into wall studs or anchors.
Next is creating an opening through which refrigerant lines will pass between indoor and outdoor units—this requires precision drilling at least 3 inches wide at approximately waist height behind where you’ll mount each air handler inside rooms needing cooling power! Be cautious not only about hitting any hidden pipes/electrical wires but also ensuring proper incline angle so condensation drains correctly outdoors instead pooling indoors causing damage over time due improper drainage setup during initial stages planning phase itself!
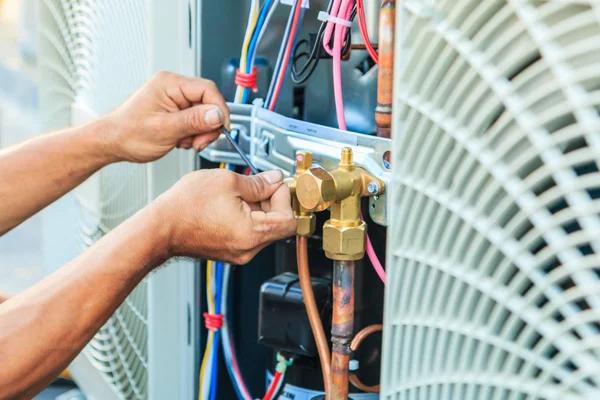
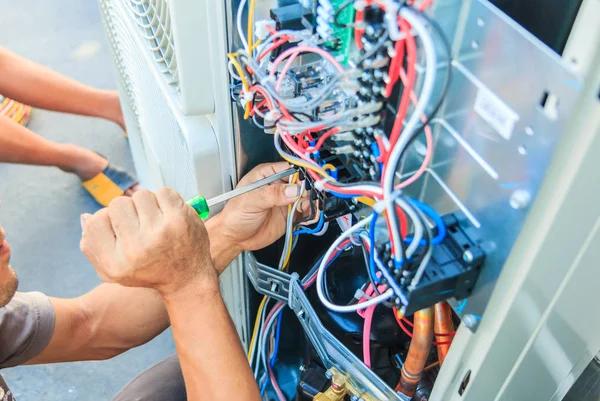
With holes drilled successfully routed tubing connecting two components together securely fastened using flare nuts tighten firmly yet carefully avoid over-tightening risk damaging delicate connections involved here critical step towards successful operation long term usage experience overall satisfaction levels achieved ultimately end-users themselves directly benefiting greatly increased comfort convenience provided modern technology advancements today’s world now more than ever before possible thanks innovation engineering excellence driving industry forward always striving deliver best results customers everywhere alike worldwide scale truly remarkable indeed!